Combat & Shells
Mortal Shell II Shells: all eight & where to find them
The eight playable Shells are Tiel, Proxima, Eredrim, Smert, Gragu, Genessa, Lazlo and Sariel. Steam confirms eight warriors to possess; PowerPyx documents their world locations.
On this page
- Shell location reference
- Choose abilities, not just appearance
- Finish collecting before New Game+
- Compare Tiel and Proxima early
- Use respec instead of preserving every Glimpse
- Finish the roster before New Game+
- Keep cosmetics separate from characters
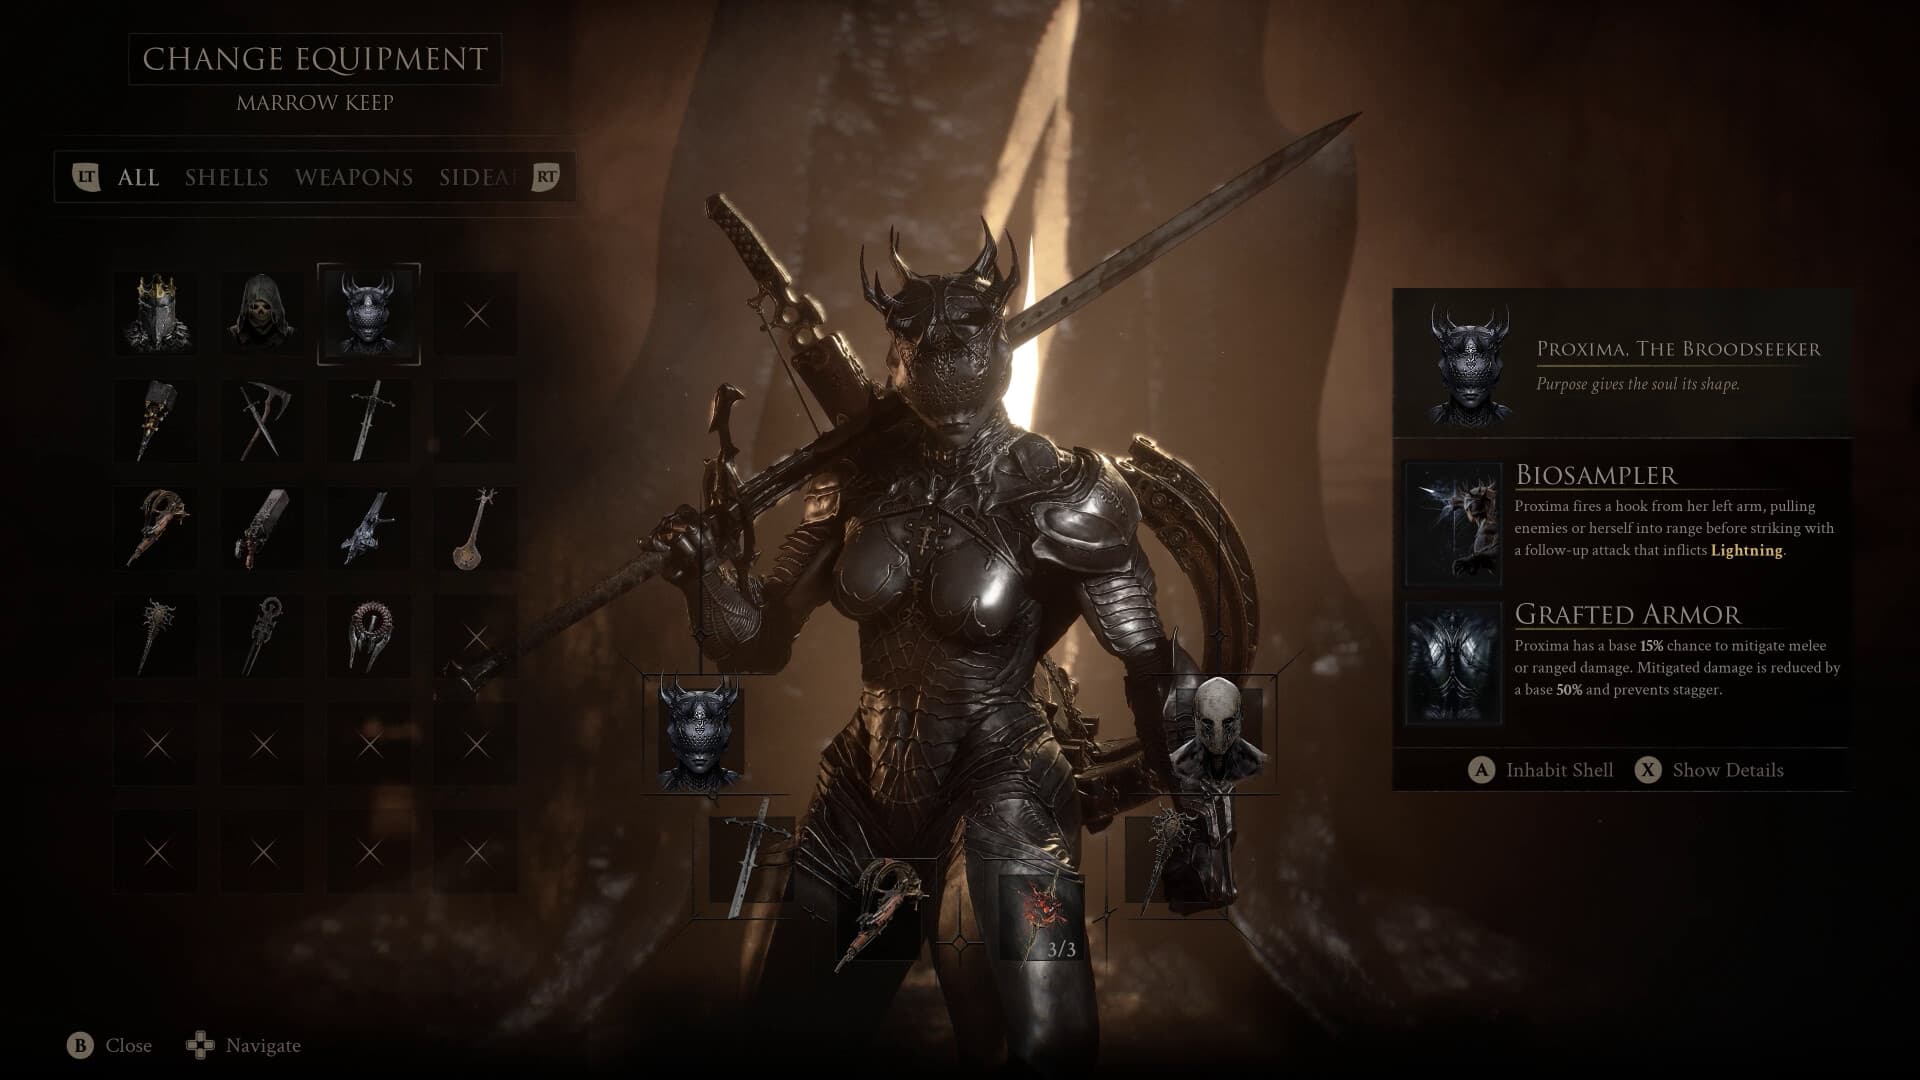
Shell location reference
These landmarks summarize PowerPyx’s Shell-location guide. Later unlocks can involve bosses or quest items, so a map marker alone is not always the final step.
| Shell | Key location or requirement |
|---|---|
| Tiel | Grave southeast of Widow’s Overlook |
| Proxima | Shattered Beacon, northeast of Blackridge Pass |
| Eredrim | Citadel of Penance; defeat The Warden |
| Smert | Stone-circle offerings southwest of Outskirts of Nochte |
| Gragu | Bring the Heart of Vatra to One Legged Wolf Tavern |
| Genessa | Bring Sester’s Censer to Genessa in Marrow Keep |
| Lazlo | Underground beyond Vellen, near High Lord’s Courtyard |
| Sariel | Complete his encounter in Chamber of Becoming |
Choose abilities, not just appearance
Each Shell brings its own abilities and memories. Try the active and defensive tools before deciding where to focus your upgrades.
For an early comparison, Tiel and Proxima are both near the opening exploration area. FightinCowboy’s overview demonstrates the Shell abilities, but it explicitly uses an earlier test build; use current in-game descriptions for balance values.
Finish collecting before New Game+
PowerPyx states that none of the Shells are missable: you can find them in post-game free roam before choosing New Game+. Purchasing map hints is optional.
The Devout Edition’s eight Obsidian skins are cosmetics for these Shells. Buying that edition does not replace the world exploration needed to find the playable warriors.
Compare Tiel and Proxima early
Tiel's grave is southeast of the Widow's Overlook Beacon inside the marked search area. Proxima is found in Shattered Beacon northeast of Blackridge Pass. PowerPyx notes that these first two Shell search areas are marked when the game begins, making them practical early alternatives.
Obtaining a Shell and learning all of its abilities are separate steps. Try its active ability, movement, and defensive tools before committing to a plan. FightinCowboy's overview is useful visual reference, but it was recorded from an earlier test build, so current in-game values take priority over its balance numbers.
Use respec instead of preserving every Glimpse
The Week 1 Update made Glimpses and Tarcores non-finite, allowing every Shell and Tarstone to be upgraded within one playthrough. This supersedes beta-era recommendations to develop only one or two Shells because the total supply could not support the rest.
Mether's Severance can be given to Zhirelle to reset a Shell and refund every Glimpse spent on it. Merrick sells the item and restocks it as progression advances. You can therefore correct an early build decision, although testing a Shell before upgrading still saves time and avoids an unnecessary respec.
Finish the roster before New Game+
PowerPyx states that none of the eight Shells are missable. They remain available during post-game free roam before you choose to enter New Game+. Later unlocks may require a boss, quest item, or repeated encounter, so arriving at a map marker is not always the final step.
Examples include defeating The Warden for Eredrim, bringing the Heart of Vatra to Gragu, taking Sester's Censer to Genessa, and completing Sariel's Chamber of Becoming encounter. Follow the requirement attached to the individual Shell instead of assuming every body is a simple surface pickup.
Keep cosmetics separate from characters
The Devout Edition's eight Obsidian Shell skins change the appearance of the roster; they do not grant the playable Shells or replace their world routes. Likewise, selecting a skin is not the same as resetting an ability tree or moving Glimpses between Shells.
For a clean collection pass, compare the eight names in the in-game roster with the location table, finish missing unlock requirements, and delay the New Game+ choice until the list is complete. Map hints are optional and discovery can continue after the final boss.
Watch alongside the guide
Videos from the creators cited in this guide. May contain spoilers.
Mortal Shell 2 - All Shell Locations, Abilities, & Talents
Playing loads the standard YouTube player. YouTube/Google may use cookies or browser storage and receive viewing and device data. Video privacy